
Composting at Home: Turning Kitchen Scraps Into Garden Gold
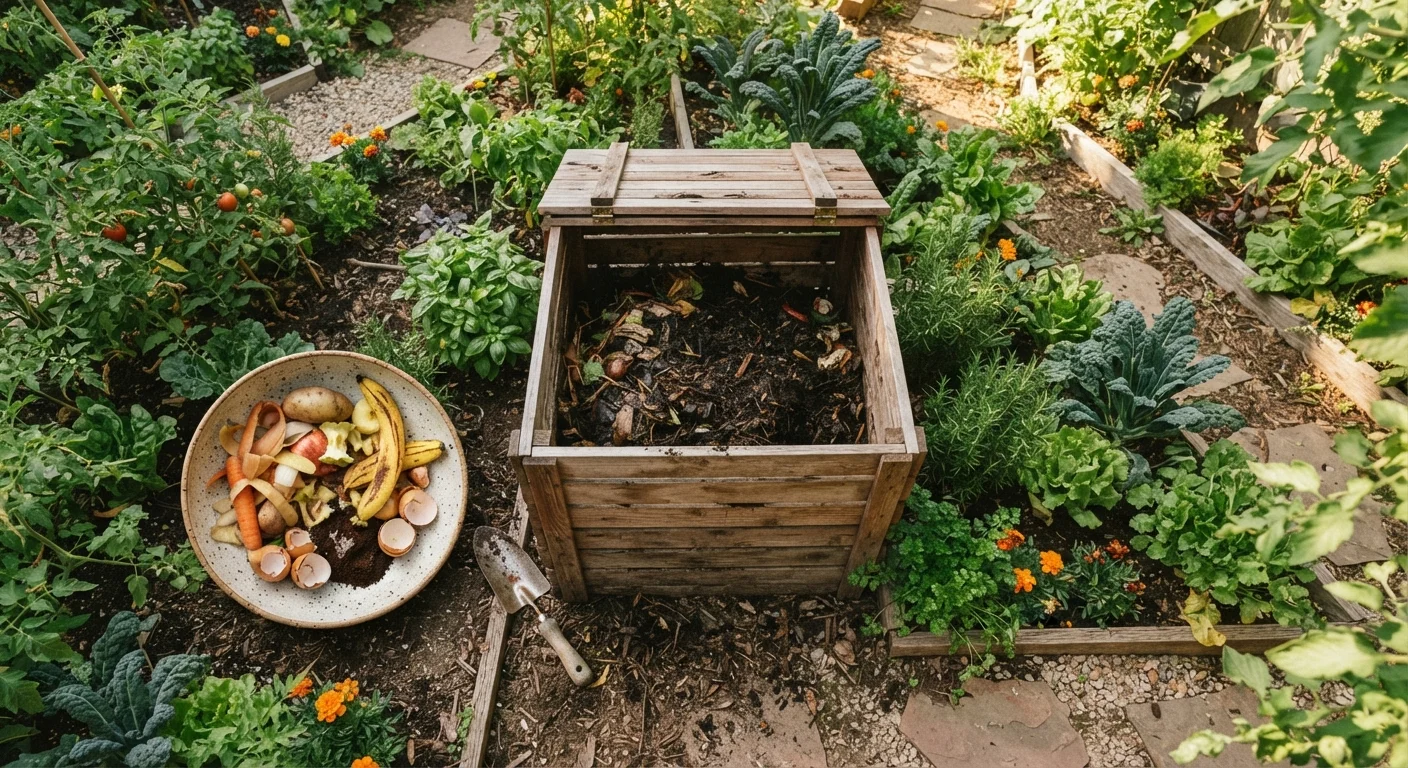
Photo credit: lifestyle-insights.com
In this article
Composting reduces waste and builds richer soil for free. Follow these practical steps to start a compost system that works for a busy family household.
Key Takeaways
- Composting requires no special equipment to start and costs little to nothing for most households.
- A working compost pile needs a balance of carbon-rich browns and nitrogen-rich greens.
- Kitchen scraps and yard waste can produce usable compost in as little as two to three months.
- Turning the pile regularly and managing moisture are the two habits that speed results most.
- Finished compost reduces the need to buy bagged soil amendments for gardens or raised beds.
Why composting makes sense for a family household
The average American household throws away a significant portion of its food each year. Vegetable trimmings, coffee grounds, eggshells, and fruit scraps that go into the trash end up in landfills where they produce methane rather than improving anything. A home compost system redirects that material into finished compost, a dark, crumbly amendment that improves soil structure, feeds soil biology, and reduces the need to buy bagged fertilizers or potting mix.
For families growing food in a backyard plot or raised garden beds, homemade compost can meaningfully lower gardening costs over a full growing season. It also connects well with broader household habits around reducing waste, an area covered in our guide on reducing recurring monthly costs.
Getting started does not require a purchase. A pile on bare soil works. A simple bin made from wood pallets or wire mesh costs almost nothing and contains the pile neatly. The goal is a system your household will actually maintain, not a perfect one.
What you will need
How to build and run your compost system
The steps below cover choosing a location, layering materials correctly, and managing the pile through to finished compost. Follow them in order the first time, then adjust based on what you observe.
Choose and set up your composting spot
Pick a location with partial shade and good drainage. Direct sun dries the pile out faster and requires more watering. Place the bin or mark the pile area on bare soil rather than concrete so that worms and beneficial organisms can move in from the ground. A spot within easy reach of the kitchen door reduces the friction of hauling scraps outside, which matters for maintaining the habit long term.
Collect and sort your materials
Compost works through a balance of two types of material:
- Greens (nitrogen-rich): vegetable and fruit scraps, coffee grounds and paper filters, tea bags without staples, fresh grass clippings, plant trimmings
- Browns (carbon-rich): dry leaves, cardboard torn into small pieces, paper bags, newspaper, straw, wood chips
Keep a small container with a lid on the kitchen counter to collect scraps between trips to the pile. Empty it every one to two days to avoid odors indoors.
Do not add meat, fish, dairy, oily foods, pet waste, or diseased plants. These either attract pests or introduce pathogens that a home pile may not eliminate reliably.
Layer the pile correctly
Start the pile with a 4-inch layer of coarse browns such as wood chips or straw at the base. This aids drainage and airflow. Add a 2 to 3-inch layer of greens on top, then cover with another layer of browns. Aim for a rough ratio of two to three parts browns to one part greens by volume. This ratio is not critical to get exact, but heavily green piles tend to smell, and heavily brown piles decompose very slowly.
Water each layer lightly as you build so the pile feels damp throughout, similar to a wrung-out sponge.
Turn the pile regularly
Turning introduces oxygen, which the microorganisms breaking down your material need. Use a pitchfork to move material from the outside of the pile toward the center and vice versa. Turn once a week for fast decomposition, or once every two to three weeks if time is limited. A pile that is never turned will still compost but may take six to twelve months instead of two to three.
After turning, check moisture. If the pile does not feel damp, water it. If it is very wet, leave it uncovered for a day before turning again.
Recognize when compost is ready to use
Finished compost is dark brown to black, has an earthy smell similar to forest soil, and shows no recognizable food scraps or large material chunks. The original volume of the pile will have reduced by roughly half or more.
If some material in the pile has not broken down fully, sift the finished compost through a wire mesh screen and return the larger chunks to the pile to continue decomposing. Use finished compost by working it into garden beds, spreading it as a surface mulch, or mixing it into container potting soil.
Troubleshooting common compost problems
Even a well-set-up pile will occasionally need adjustment. The two most common issues are a pile that smells bad and one that will not break down.
- Slimy and smells like ammonia: Too many greens and not enough air. Add dry browns such as cardboard or straw, then turn the pile to introduce oxygen.
- Dry and not breaking down: The pile is too dry or has too many browns. Dampen with a garden hose and mix in fresh kitchen scraps or grass clippings.
- Pests getting into the pile: Meat, dairy, and cooked foods attract rodents. Keep those out of the pile entirely and consider a bin with a lid or hardware cloth base.
- Pile feels cold and inactive in winter: Decomposition slows in cold temperatures but does not stop. Insulate the pile with straw bales or a tarp and continue adding material. Resume turning in spring.
Keep a second bin for a steady supply
Running two containers side by side lets you fill one while the other finishes decomposing. This way you have a continuous supply rather than waiting for a single pile to complete before starting again. Many families build a simple two-bay system from wood pallets at no cost.
Once you have a reliable supply of finished compost, you may find you spend less on amendments at the garden center. Families tracking food and garden spending can apply those savings toward other household priorities, an approach worth reading about in our family grocery budget guide.

Author
Home & Garden Editorial Team
Home & Garden Editorial Team is the collective byline for our editorial team and contributor network. Articles published under this byline or an editorial pen name are researched, written, and reviewed according to our editorial standards for clarity, consistency, and independence before publication.
View all articles →