
Why Repainting Interior Walls Goes Wrong and How to Prevent It
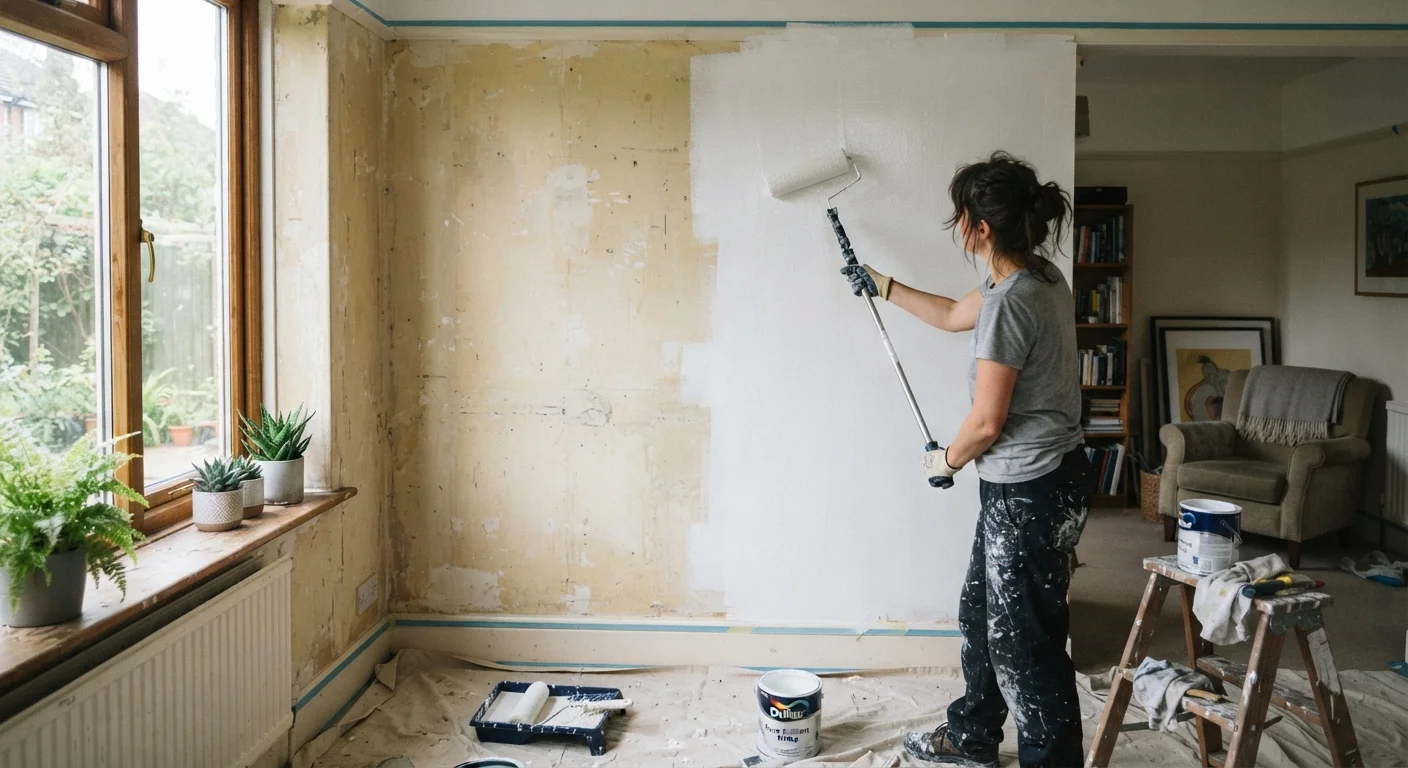
Photo credit: lifestyle-insights.com
In this article
A fresh coat of paint can refresh any room, but common preparation and technique errors lead to peeling and uneven finishes. Learn what to watch for.
Key Takeaways
- Skipping surface cleaning and patching is the leading cause of paint failure on interior walls.
- Primer is not optional when covering dark colors, stains, or previously unpainted drywall.
- Applying thick coats to speed up the job usually causes drips, uneven sheen, and slow curing.
- Paint sheen choice affects how well a finish holds up to scrubbing and daily contact.
- Temperature and humidity during painting directly influence how paint bonds to the wall surface.
Why interior repaints fail more often than people expect
A gallon of paint and a weekend afternoon seem like enough to refresh a room. In practice, most failed repaints come down to steps that happen before the brush ever touches the wall. Preparation takes longer than application, and cutting it short is what causes peeling corners, blotchy finishes, and visible lap marks that show up six months later.
The good news is that each failure mode is predictable. Once you know what causes a bad repaint, avoiding it is straightforward. The mistakes below cover the full sequence, from surface prep through final coat, so you can plan your project with a clear picture of what actually matters.
Painting over dirty or greasy walls without washing them first.
Why it happens: Walls that look clean often carry a film of dust, cooking grease, or skin oil that is invisible until the paint fails to bond. Most people skip washing because the wall surface looks acceptable to the eye.
Skipping filler and sanding on holes, dents, and hairline cracks.
Why it happens: Small imperfections seem minor before painting, but fresh paint reflects light in a way that makes every surface irregularity more visible, not less.
Skipping primer when it is actually required.
Why it happens: Paint-and-primer-in-one products have led many people to believe that a separate primer coat is rarely necessary. That is true for repainting a similarly colored wall in good condition, but not in most other cases.
Applying paint too thickly to finish the job in one coat.
Why it happens: Thick coats feel like a time-saver, but they dry unevenly, sag on vertical surfaces, and take far longer to cure fully than two thinner coats would.
Cutting in along edges and then rolling the field too long afterward.
Why it happens: People often cut in an entire room before picking up the roller, which means the brushed edges dry before the rolled field can blend into them. This leaves visible lines where the two application methods meet.
Removing tape too late and pulling away dried paint with it.
Why it happens: Painter's tape is often left on overnight or longer because it seems safer to wait. Once the paint film fully hardens over the tape edge, removing it tears the surface rather than releasing cleanly.
Getting paint to last: the decisions that matter most
Two choices made at the hardware store have an outsized effect on how long a repaint holds up: sheen level and paint quality.
Sheen level determines durability. Flat and matte finishes absorb light well and hide surface texture, but they scuff easily and cannot be wiped down without leaving marks. For kitchens, bathrooms, and hallways with heavy traffic, an eggshell or satin finish cleans more easily and resists moisture better. Reserve flat paint for ceilings and low-traffic bedroom walls where washability is less of a concern.
Paint quality also matters for a different reason than most people assume. Higher-quality paints generally contain more pigment and binder solids, which means better coverage per coat and a film that adheres more tightly over time. Two coats of a well-formulated paint almost always outlast three coats of a lower-quality product on the same wall.
Older homes may have lead-based paint
Homes built before 1978 may have walls painted with lead-based paint. Sanding or scraping those surfaces can release hazardous dust. Before starting any surface prep in an older home, use an inexpensive lead test kit available at hardware stores, or consult a certified lead inspector. If lead paint is present, follow EPA guidelines for safe handling and consider hiring a certified renovation contractor.
Finally, the drying environment matters as much as the paint itself. Most interior latex paints should be applied when the room temperature stays between roughly 50 degrees F and 85 degrees F, with moderate humidity. Cold slows curing and causes the film to become brittle. High humidity traps moisture in the paint layer, which can lead to adhesion failure over several weeks even when the surface looks dry to the touch.

Author
Home & Garden Editorial Team
Home & Garden Editorial Team is the collective byline for our editorial team and contributor network. Articles published under this byline or an editorial pen name are researched, written, and reviewed according to our editorial standards for clarity, consistency, and independence before publication.
View all articles →